Why Does My Electric Bike Cut Out (Troubleshoot Master Guide)
Last week I was having fun riding until my electric bike suddenly cut out. So I tried to ride again, but it cut out once again. It was frustrating, so I wondered, “Why does my electric bike cut out?”
As a whole, an electric bike cuts out when there is an issue with the battery, the motor, the controller, or the electrical connection. If one of these components fails to work, your electric bike will keep cutting out.
When your electric bike cuts out, the first thing you should do is check for the cause of the cut-out. First, this article will tackle the possible reasons for an e-bike to cut out. Then, we’ll dive into the electric bike troubleshooting and resetting process.
Reasons Why My eBike Cut Out
- Defective battery
- Damaged motor
- Damaged controller
- Loose electrical connection
Cut-Out Due to Defective Battery
The electric bike battery will endure some wear and tear over time. In some situations, the battery can become defective and fail due to improper charging, discharging, or overheating.
If your battery wears out, its efficiency will significantly decrease. If that happens, a time will come that the battery can no longer supply enough power for your e-bike motor to work. Therefore, it can result in a continuous or permanent cut-out. When that happens, it is best to replace your battery immediately or contact a professional mechanic to have it fixed, if possible.
Cut-Out Due to Damaged Motor
When your e-bike motor has been damaged, your e-bike may cut out and not work correctly. You can observe some signs if your eBike motor has been damaged. These signs include but are not limited to the motor producing weird and unusual sounds, or the motor giving off a different smell than normal.
Suppose your e-bike cuts out and you observe any of these signs. This may signal that your e-bike motor might have an issue and needs an immediate fix or replacement.
If you wish to buy an electric bike motor for your bike, we recommend this Bafang eBike Conversion Kit on Amazon. This conversion kit already has all the necessary accessories: a mid-drive motor, LCD Display, headlight, speed sensor, and other critical components.
Cut-Out Due to Damaged Controller
The e-bike controller is responsible for the amount of energy that is transferred from the battery to the motor. When the controller gets damaged, it could fail to extract enough energy from the battery.
In that case, it will not be able to supply enough energy for the motor to work continuously. When that happens, there is a high chance that your e-bike will cut out now intermittently.
If your motor controller is permanently damaged, you can still replace it. Check out this Opaltool Brushless Motor Controller on Amazon.
Cut-Out Due to Loose Electrical Connections
Electric bikes are similar to regular bikes, but with the addition of electrical components. These components connect together with wires and cables.
When the wires and cables are loosened up or become burnt, they could fail to work normally. This can cause your e-bike to cut out. This situation may become aggravated, especially when riding your e-bike on a rough or bumpy road.
“Byrne’s Law: In any electrical circuit, appliances and wiring will burn out to protect fuses.”
-Robert Byrne
Why Does My eBike Motor Cut Out?
As a general rule, an e-bike motor cuts out when it becomes worn out, damaged, or if you put too much stress on the motor. Cut-outs also may happen when the wires connecting to the motor become burnt or loosened.
A damaged motor is one of the reasons why your motor may cut out. Damage can happen due to wear and tear, improper use, and bad weather conditions. Typically, the motor can last between 3 to 10 years. The wear on your motor depends on your usage of your e-bike. When the motor is worn down, its efficiency is reduced. They may result in the motor cutting out.
Stressing your motor can also cause the motor to cut out. For example, suppose you regularly ride your eBike uphill. Or, suppose you carry a load heavier than your e-bike’s maximum capacity. In each case, you are putting a lot of stress on your motor.
Another situation that could result in the motor cutting out is if the wires connected to the motor are not connected correctly. When you ride your e-bike, your e-bike vibrates. Inappropriately connected wires can become loosened which can cause the motor to cut out.
Suppose you ride your e-bike on an uneven surface. There is a high probability that the vibration will disconnect the wires. Hence, it can result in a motor cut-out.
How Do You Troubleshoot an Electric Bike?
- Check if your battery is inserted correctly and working well
- Check if the motor inhibitor isn’t turned on
- Check if the controller is working
- Check your wire connections
Check If Your Battery Is Inserted Correctly and Working Well
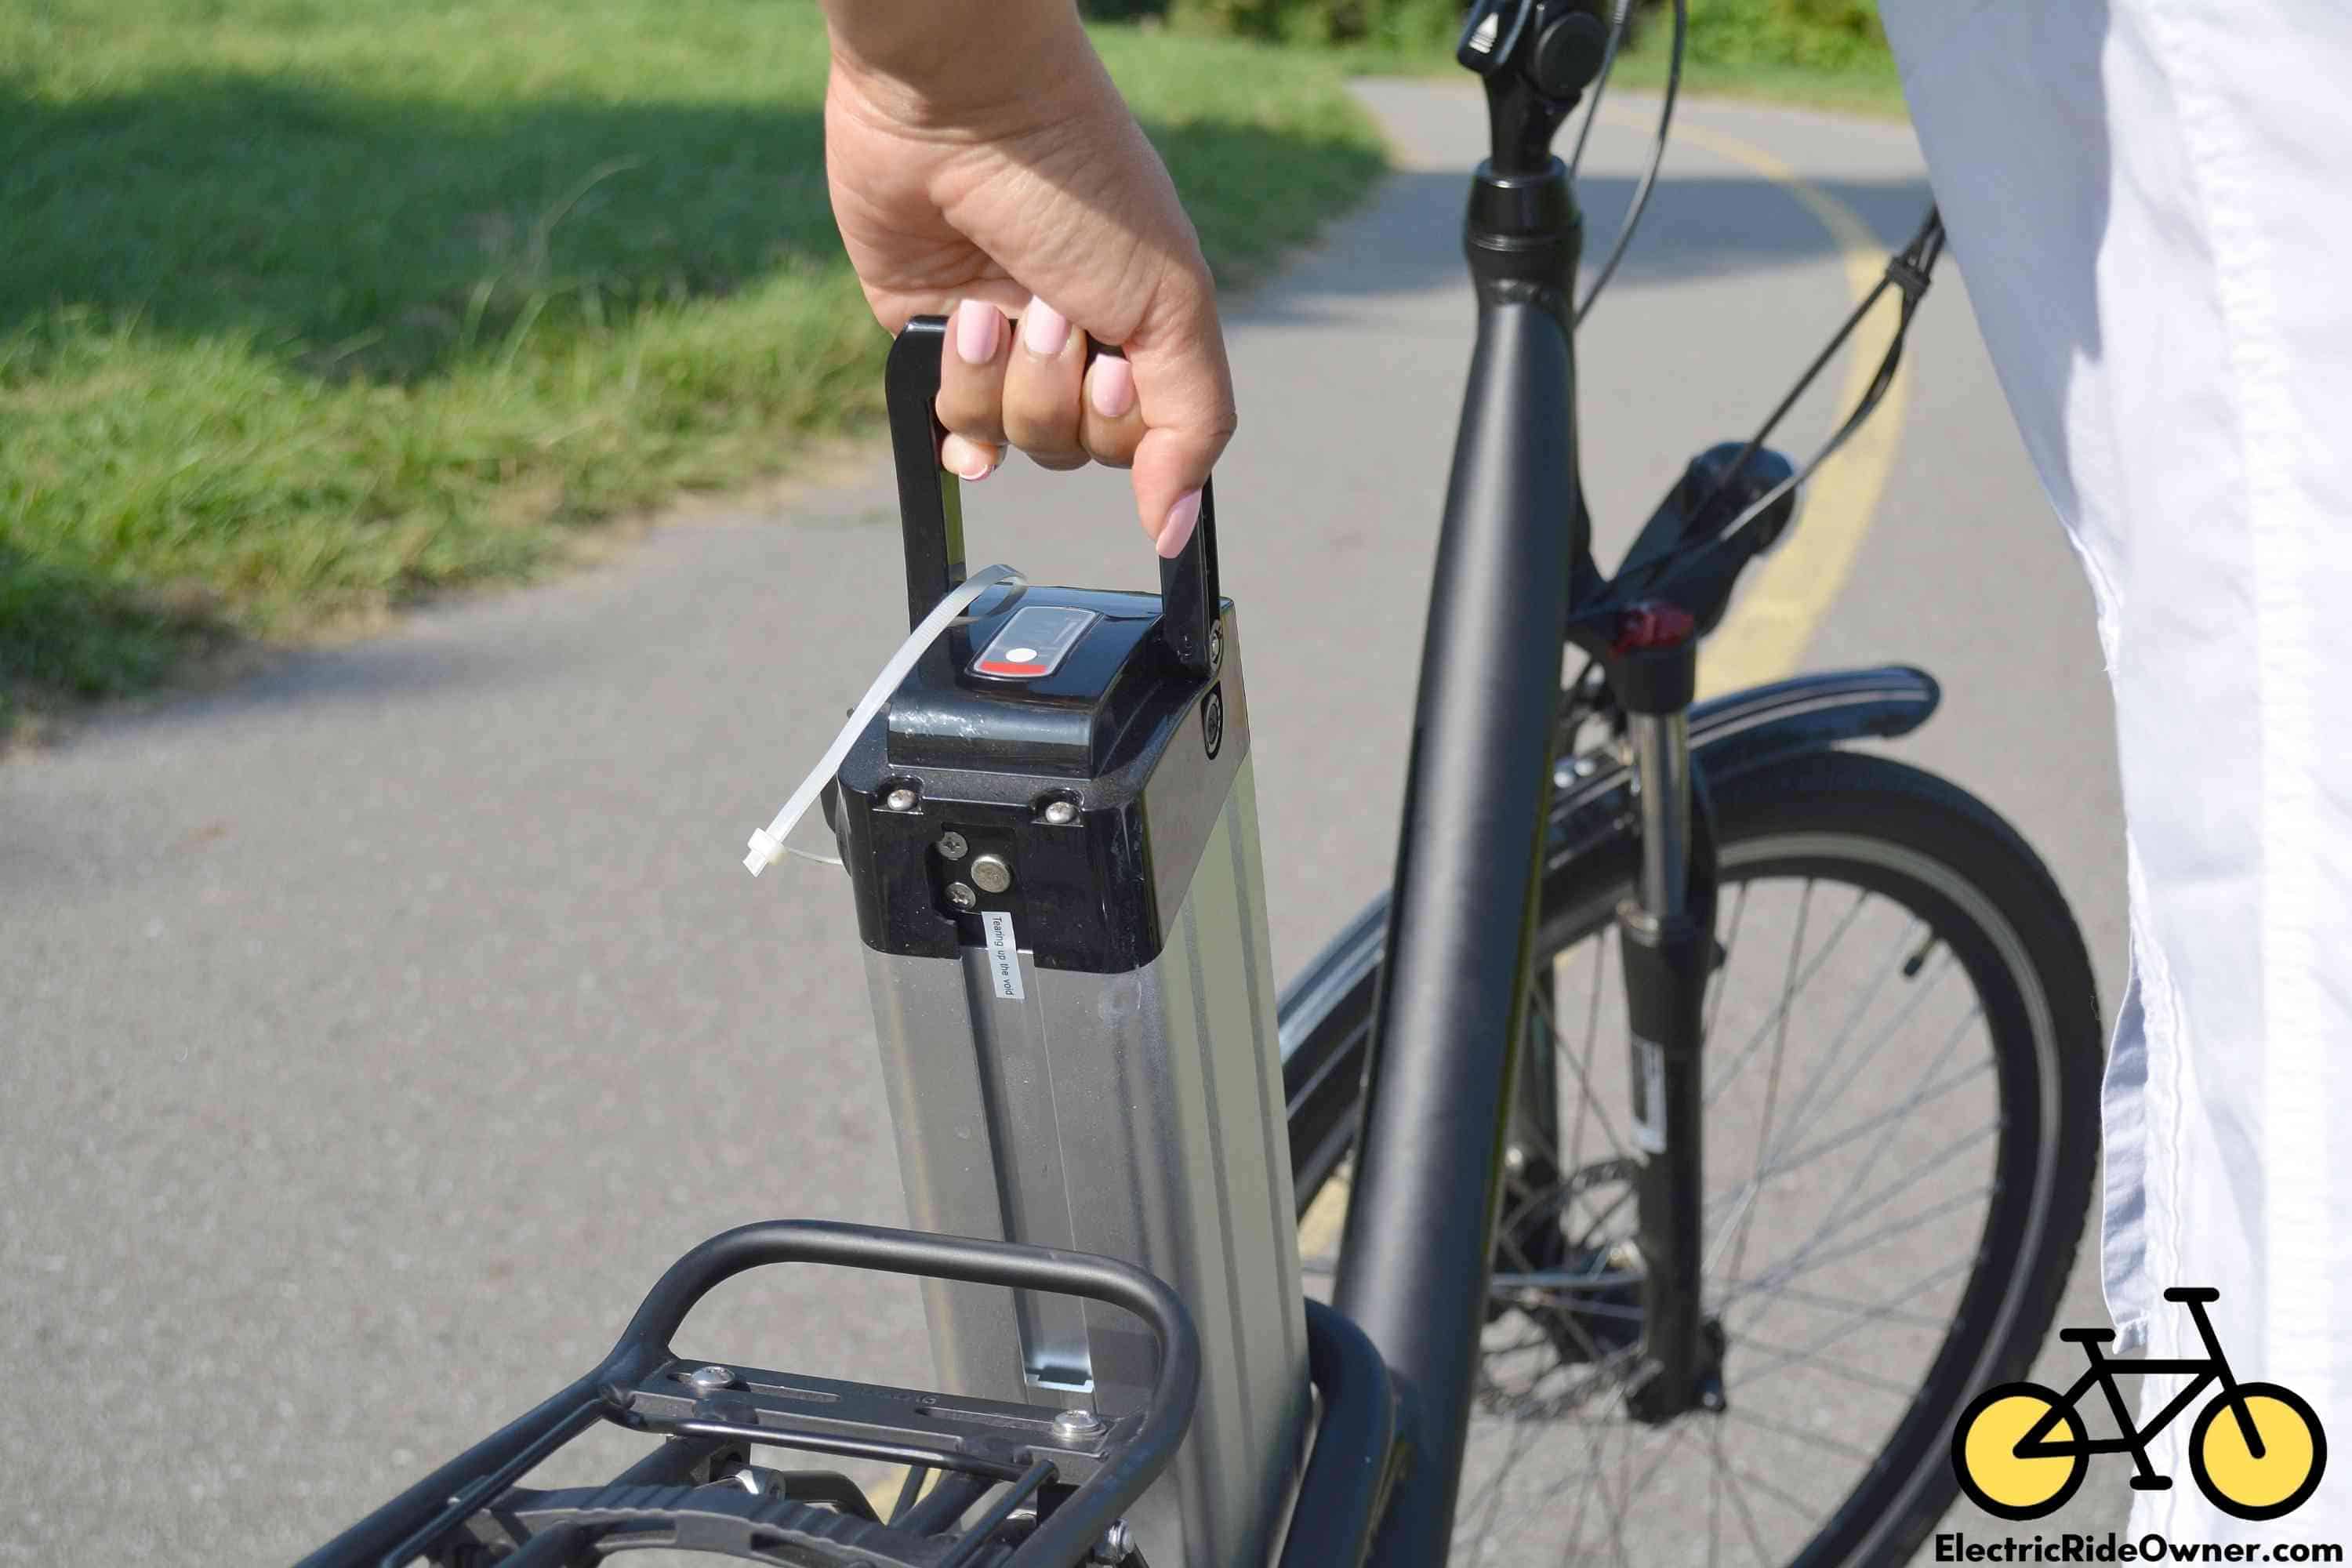
Check if your battery is inserted into your electric bike correctly. If it is and is not working, unmount your battery. You have to turn it on and off. If the battery is working fine, proceed in checking the battery voltage.
However, if you can’t turn on the battery, try charging it until it’s fully charged. If you can’t charge it, then your battery has an issue. You can replace it or contact a mechanic to check further for possible problems.
Next, check the voltage of your e-bike battery. You can use a voltmeter to check the voltage of your e-bike battery. Suppose you have a 36 or 37-volt battery. The operating voltage of these batteries is between 30 to 42 volts. So, if the voltmeter’s reading is lower than the operating voltage, your battery might be faulty.
In such cases, immediate replacement is recommended. Check out this Unit Pack Power Electric Bike Battery sold on Amazon.
Check If the Motor Inhibitor Isn’t Turned On
The motor inhibitor is a safety feature that serves as a cut-off switch. If the motor inhibitor is turned on, the connection from the motor to the handlebar or the brake lever is cut. Thus, your e-bike won’t work appropriately.
Suppose you have dropped your e-bike accidentally. The impact to the handlebar or brake lever can switch on the motor inhibitor. One way to tell if your motor inhibitor is turned on is to pull your brake lever. If you tried pulling your brake lever and you can’t bring it back freely, then there might be an issue with the motor inhibitor.
If that happens, you need to have it fixed for your e-bike to run correctly again.
Check If the Controller Is Working
A multimeter is one way to test if your controller is working. First, you have to check the resistance and continuity of the MOSFET. Suppose the resistance measurement does not fall under the normal range as written on your controller’s manual. In that case, your controller is not working well.
On the other hand, if you hear a beep on the multimeter as you do the continuity test, this also tells you that your controller is not working correctly.
A bike’s controller is quite complex, so testing it can be difficult. However, one of the best ways to know if it’s working properly is by checking if the parts connected to it are working correctly. If some of these parts are not working appropriately, your controller may have an issue.
If your motor controller is permanently damaged, you can still replace it. You can buy this Opaltool Brushless Motor Controller on Amazon.
Check Your Wire Connections
Check all the electrical connections of your e-bike. You can start by unplugging all the wires and connectors and examining them one by one.
Check if a wire is burnt, loose, damaged, or bent. Additionally, you have to ensure that all your wires are connected correctly. If you observe any issue in your wire connections, it is best to replace them or fix them immediately.
If the parts mentioned above and the components of your e-bike are working just fine, then you have to check other components or have a professional run a diagnostic test on your eBike.
You can check this video if you want to learn more about troubleshooting your electric bike.
How Do I Know If My eBike Controller Is Bad?
As a general rule, you can know if your e-bike controller is bad by checking the e-bike controller for any short or blown MOSFETs. You can also check if your e-bike motor works well when connected to the e-bike controller.
A shorted or blown MOSFET is a sign of a bad e-bike controller. You can check your e-bike controller by using a multimeter. There are two ways to use a multimeter to determine if you have blown or shorted MOSFETs: check the resistance level and/or continuity.
When checking the resistance, choose the resistance function of the multimeter. When the amount of resistance of each probe is between the standard value, then your e-bike controller is good. Otherwise, your controller is bad.
For the other test, you can check the continuity of your e-bike controller by using the continuity function of your multimeter. If you hear a beep sound when checking for continuity using the multimeter, there may be a short in your controller.
Another way of checking if your e-bike controller is bad is by connecting your controller to the motor. If your motor is turning softly, your controller is doing fine.
You can watch the video below to see the actual steps detailed above.
How Do I Reset My eBike Controller?
As a whole, you can reset your e-bike controller by setting the C5 or C10 parameters to 1 or Y, respectively. The C5 parameter is responsible for the controller system setting, while C10 is responsible for all the factory settings.
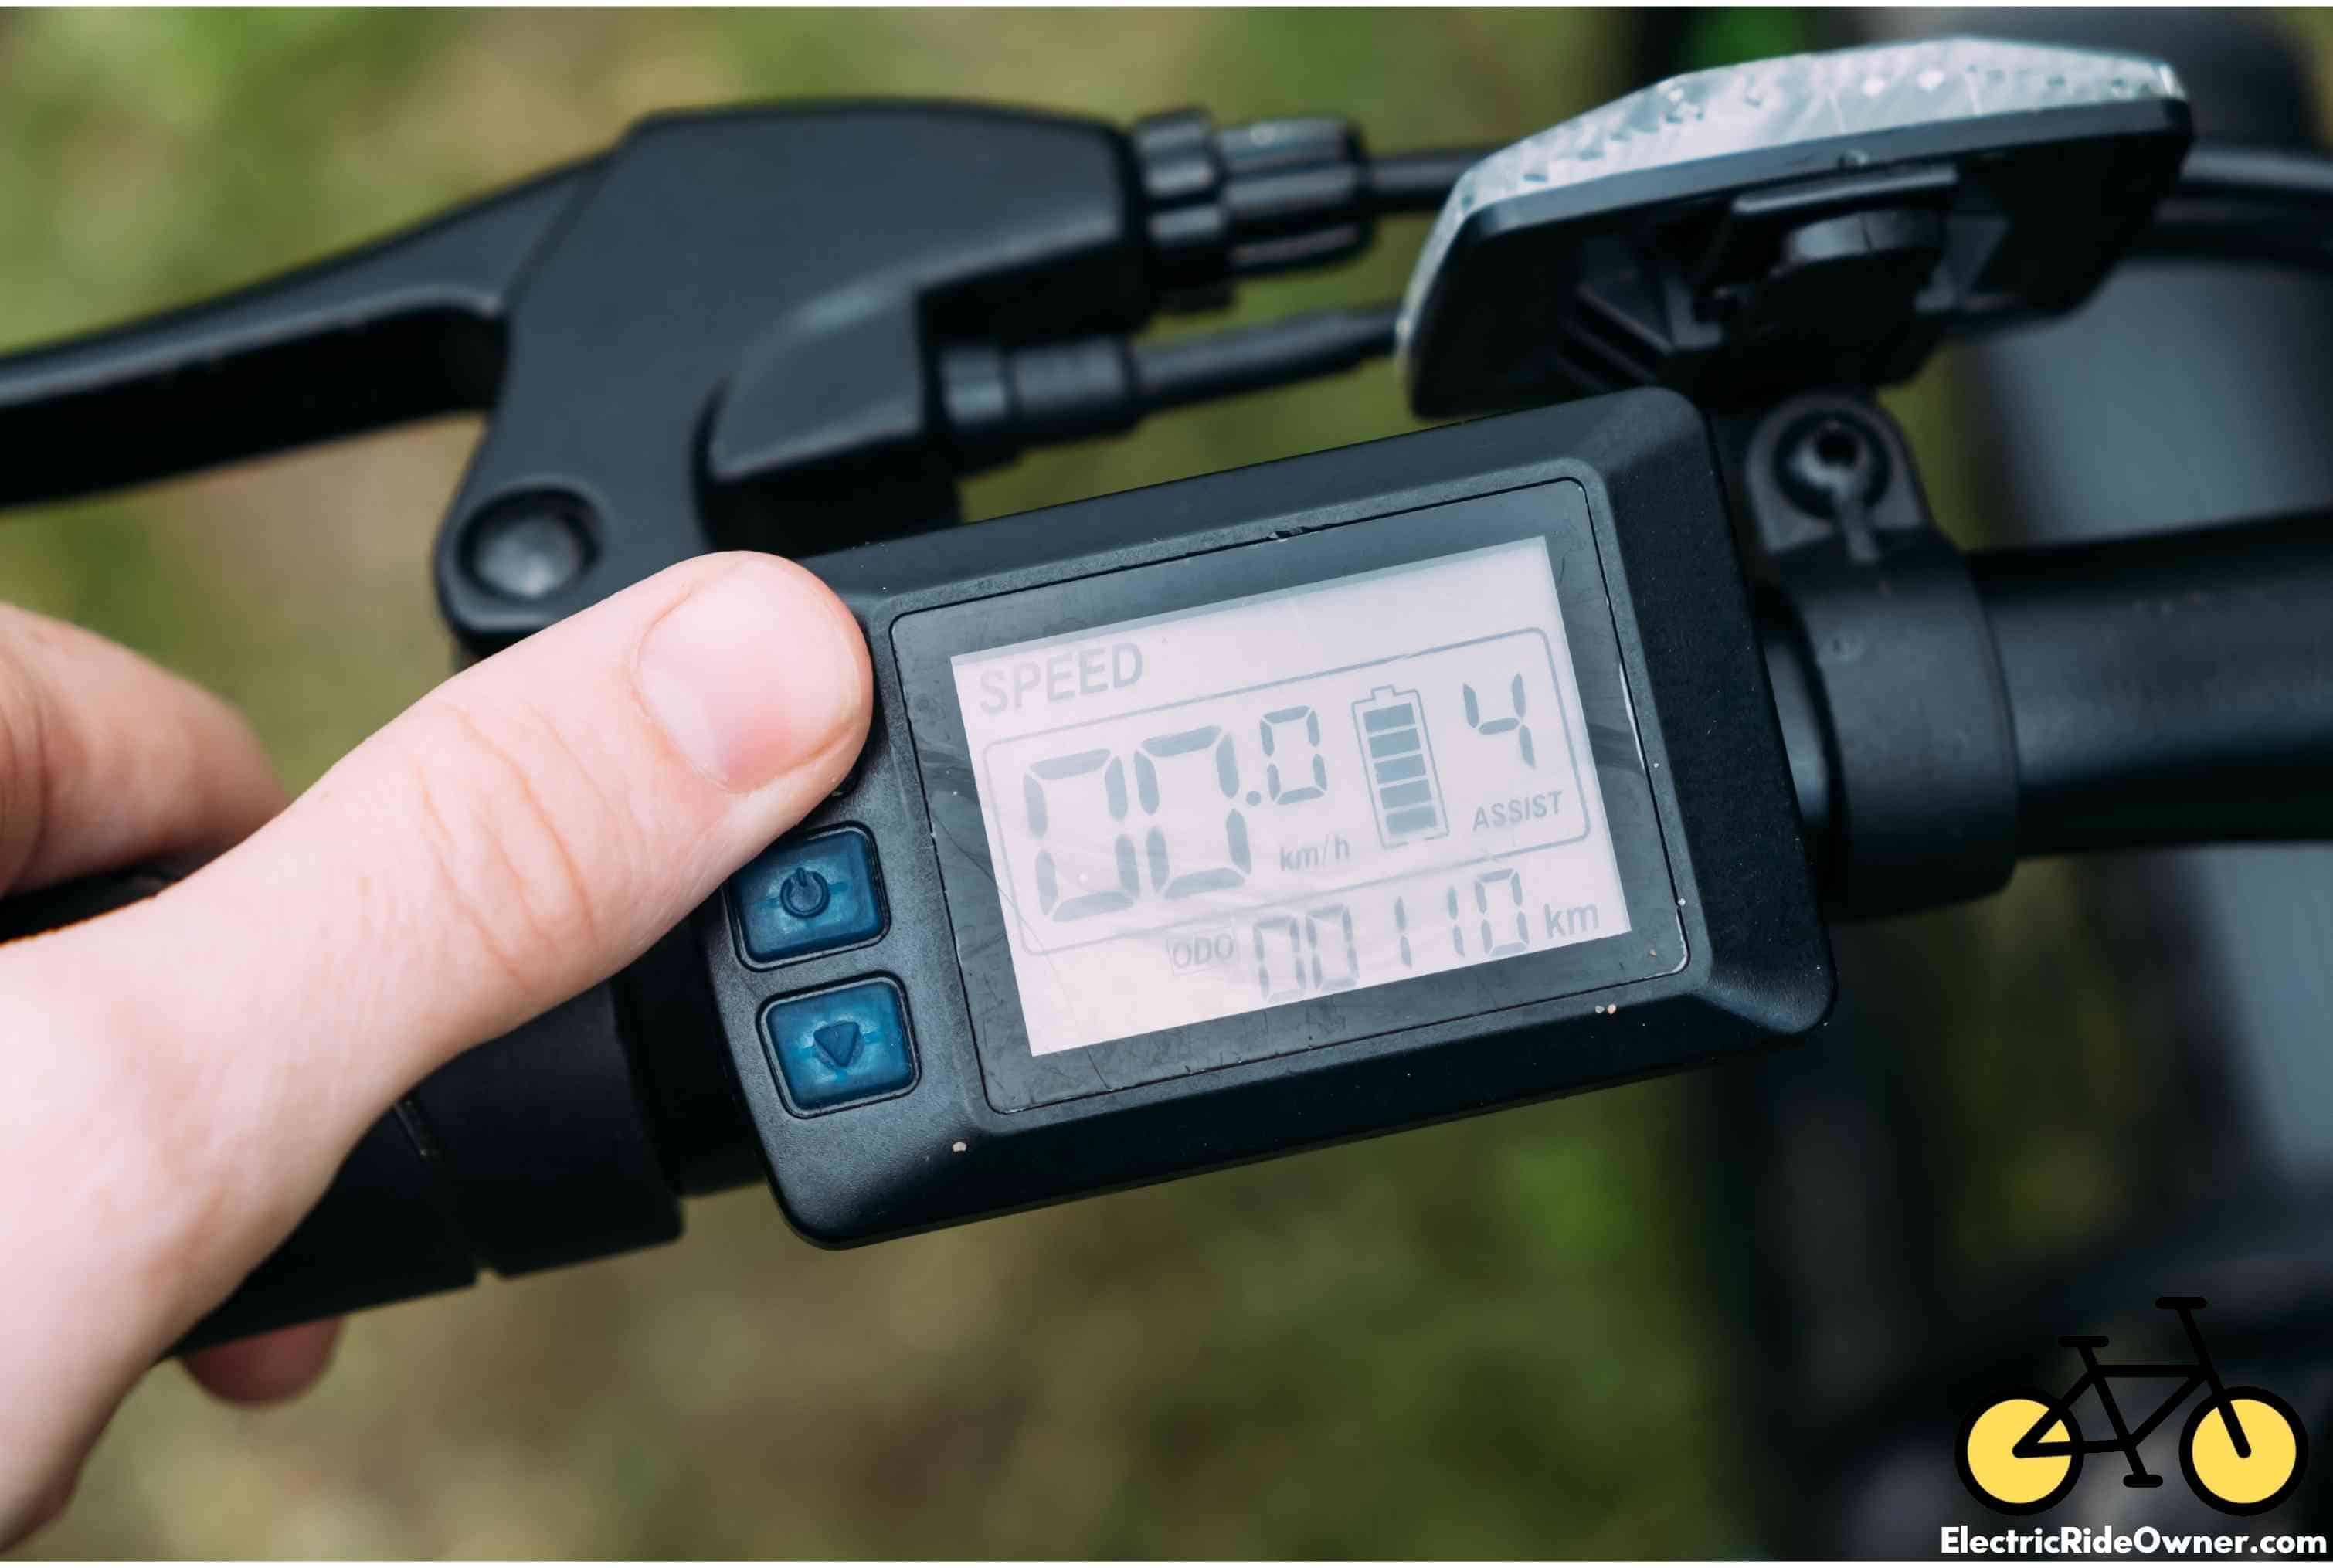
To reset your controller, you first have to turn on your electric bike. Wait for 5 seconds, then hold and press the up and down button together for two or three seconds. Then, use the power button to go to C-parameters. After that, set your C-parameter to C5 and change the value to one.
You can also reset the controller by resetting all of the factory default settings. You have to set your C-parameter to C10 and set the value to y.
Always hold and press the power button after each step to save any changes you have made.
Note: Different e-bikes have different built-in LCDs. So, you have to check your e-bike LCD manual for proper guidelines that pertain to your specific e-bike.
If you have KT-LCD3, you can check the manual here.
How Do I Check My eBike Battery Health?
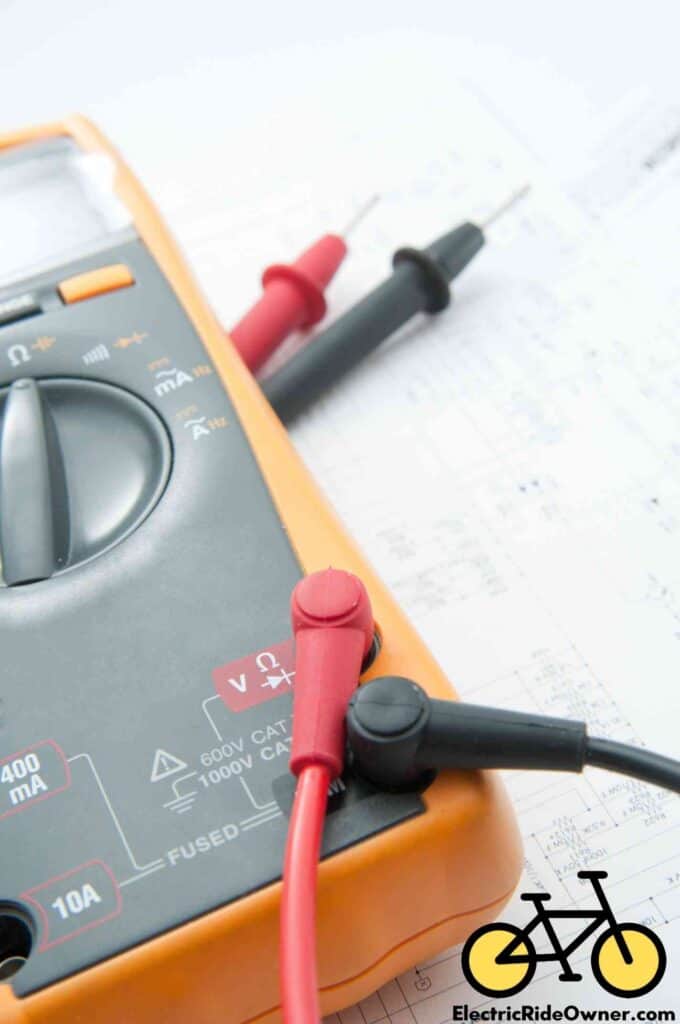
As a general rule, you can check your e-bike battery health by using a multimeter. A multimeter is a device that has different functions that can measure your battery’s electrical current, resistance, and voltage.
The voltage, current, and resistance values of your e-bike battery can significantly affect your battery’s health.
It is always best to have the battery manual with you to compare the values in your battery specifications to the multimeter readings. Before using the multimeter, ensure your battery is fully charged to observe the best results.
Suppose you are testing your battery voltage. Your e-bike battery would be deemed to be healthy when the volts measurement on the multimeter is the same as the voltage written on the specification in the manufacturer’s manual.
Next, you can check your battery’s electrical current. The electrical current is the number of amps your battery can deliver in an hour. If the number of amps measured by the multimeter is the same as the amps in the battery’s specification, then your battery is healthy.
You also need to check your battery’s resistance. The resistance of the battery determines the flow of the electricity within your battery. When the resistance is low, there is an excellent flow of electricity. In contrast, when the resistance is high, there is a weak flow of electricity in the battery.
Suppose your e-bike battery has a problem with any of these electrical values. In that case, there is an issue with your battery’s health. If you are looking for a reliable digital multimeter, we recommend picking up this AstroAl Digital Multimeter on Amazon.
How Do I Know If My eBike Battery Is Bad?
As a whole, you can know if your e-bike battery is bad when you observe any of the following signs:
- Your battery is not working
- You can’t charge your battery
- The electric values are higher or lower than the normal range
- Your battery gets too hot when charged
The first sign your battery is bad is when it stops working. If you can’t turn on your battery even after you charge it, your battery may be faulty. You can choose to check it on your own or go to the nearest e-bike mechanical shop.
Another sign that you can observe if you have a faulty battery is if you can’t charge it, even if you try charging it with a different but similar charger. In such a case, you have to check the connections inside the battery pack.
Suppose the electrical values of your battery are lower or higher than the normal range. In that case, your battery might be faulty. You can check the electrical values of your battery using a multimeter. Furthermore, you may have a bad battery if its temperature gets too hot when you charge it. If that is the case, it’s pretty unsafe to use it continuously. Overheating a battery may result in an explosion or fire.
If your battery is bad or faulty, it is best to replace it or to fix it immediately before using it again to avoid any possible casualties later.
Check our article, ‘Problems (A Fix That Actually Works),’ to discover potential solutions for your e-bike battery issues.
How Do I Reset My eBike Battery?
- Unmount your battery from your electric bike
- Press the power button for 10 seconds or until the lights turned off
- Turn on your battery
To reset your e-bike battery, make sure to unmount it from your e-bike to work safely and comfortably.
Pressing and holding the power button for 10 seconds will reset the battery. In that case, you can mount it back on your e-bike and turn on the battery for you to use it.
To know how long your e-bike battery can last, check our article, “How Long an Electric Bike Battery Last [Lifespan, Per charge].”
How Do You Reset an Electric Bike?
- Turn on your electric bike
- Hold the up and down button together for three seconds
- Click the power button once or multiple times until the blinking of the MPH number stops
- Hold the up and down button again
- Click the power button until the P-value stops blinking
- Hold the up and down button once again
- Click the power button until the setting reaches C10
- Click the down or up button to change the setting to Y
- Press and hold the power button three seconds
You can turn on your electric bike by clicking the power button. When your e-bike turns on, the LCD also turns on. Wait for about five seconds before you start doing the next step.
Holding the up and down button together will cause your LCD to go to the settings menu. The first thing that you will see is the blinking number of MPH. To reset the MPH setting, you have to click the power button once or a few times, depending on your LCD version. You will know that it has been reset when the blinking stops.
Holding your up and down button again this time will let you reset the P-parameter. Next, click the power button again until the blinking stops to reset the P-parameter.
Holding the up and down button together once again will allow you to reset the C-setting. You have to click the power button again until the C-setting reaches C10. After doing so, click the down or up button of your e-bike until the C10 value is set to Y. Do not forget to press and hold the power button to save the changes to your e-bike settings.
Can Electric Bikes Overheat?
As a general rule, electric bikes do not overheat. The electrical components of an electric bike are the only parts of an e-bike that can overheat. The electrical components of an e-bike are the battery, motor, and controller.
Generally, an e-bike cannot overheat, but its electrical components can overheat. For example, the motor, controller, and battery can overheat due to excessive use. These components, especially the motor, may work too hard when riding your e-bike on higher inclines or carrying a heavy load.
When electrical components overheat, they may break down or cut out.
One of the biggest reasons an electric bike may cut out is if the e-bike battery outlasts its useful life. To learn more about how long an electric bike battery lasts, and what to do to make it last longer feel free to check out our full article.


